

A broken oven door handle can really cause problems in the kitchen. Instead of dealing with a frustrating appliance or paying for an expensive repair, you can fix it yourself. Changing an oven door handle is an easy DIY task that you can do with common tools. This simple guide will help you learn how to repair a broken oven door handle, allowing you to take back control in your kitchen.
Understanding Your Oven Door Handle
An oven door handle is not just used for opening and closing the oven. It helps keep the oven door tight. This is important for keeping the heat inside, which helps cook food well and saves energy. Over time, the door handles can get loose, damaged, or even break from use. The good news is, most oven door handles are easy to replace. You can fix your Viking oven or other brand without much trouble.
Before you try to repair it, you should check what type of oven door handle you have. Knowing this will help you with the steps you need to take to replace it. Looking carefully at your oven door handle will make the repair quicker and easier.
Identifying the Type of Handle
Oven door handles come in two main types: those that are fixed to the oven door’s outer panel and those connected to a separate vent or trim panel. Knowing which type you have will help you decide how to replace it.
For handles fixed to the outer panel, the repair is easy. You just unscrew the old handle and screw in the new one. These handles are common on ovens from brands like Frigidaire and Electrolux.
If your oven handle is linked to a separate vent or trim panel, you’ll need to get to the inner panel of the oven door. Then, you can remove the handle assembly. This kind of handle is often found in GE and similar ovens. Don’t worry, we will explain both methods in detail below.
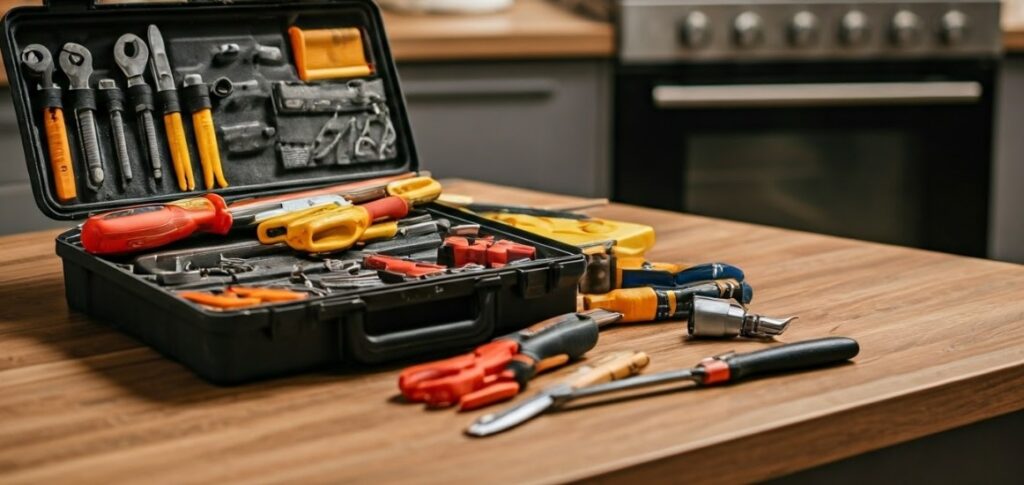
Tools and Materials Needed for Repair
Before you fix your oven door handle, gather these tools and materials. Having everything ready will make it easier:
- Replacement Oven Door Handle: Buy a handle that matches your oven’s make and model. You can find the right part number in your oven’s user manual or by searching online with your appliance’s model number.
- Screwdriver: You will need both a Phillips and a flat-head screwdriver. The exact sizes you need will depend on the screws used on your oven door handle.
- Nut Driver (Optional): Some ovens may need a 1/4-inch nut driver to take off and put on certain parts of the handle. Look at your oven’s instructions to see if you need this tool for your model.
- Masking Tape (For Method 1): Use this tape to hold the oven door panels together while you replace the handle that is mounted directly.
Step-by-Step Guide to Repairing the Handle
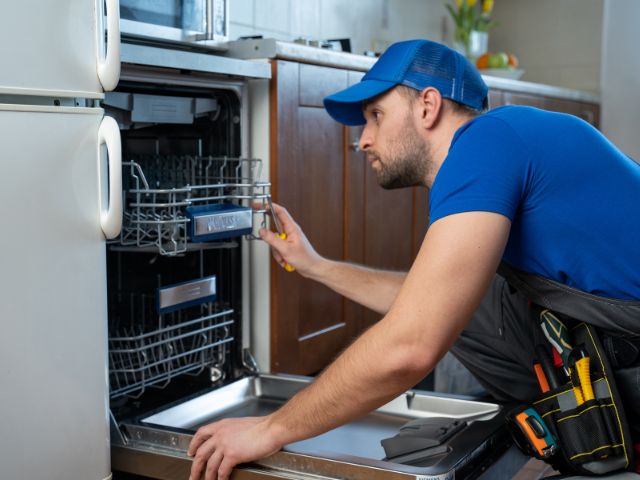
Now that you know what type of oven door handle you have and you have the right tools, it’s time to fix it. This guide will show you two ways to do the repair. You can feel sure about completing the task, no matter what oven model you own. Just remember to work slowly and carefully. If you ever feel confused, it’s better to ask our professionals at Viking Repair Pro.
Before you start, make sure your oven is completely cool and unplugged. This stops any chance of electric shocks or burns. Always put safety first.
Step 1: Removing the Broken Handle
Method 1: Directly Mounted Handle (Frigidaire, Electrolux, etc.)
- Prepare the Oven Door: Open the oven door. Place strips of masking tape around all three edges to hold the inner and outer panels together. This keeps the panels from coming apart when you take out the handle screws.
- Locate and Remove Handle Screws: Find the two to four screws on the back of the oven door that hold the handle. Use the right screwdriver to gently loosen and take out these screws. Put them in a safe spot for later.
- Detach the Handle: Once the screws are out, carefully pull the old, broken oven door handle off the door. It should come off easily. If it doesn’t, check that all screws have been removed.
Method 2: Handle Attached to Vent/Trim (GE, etc.)
- Detach Oven Door: Open the oven door partially and push it up to lift it off the hinges. You might need to unclip the hinge clips on the inner door panel. Set the door down on a soft surface to keep it safe.
- Access the Inner Panel: Find the screws that hold the inner oven door panel. Take out these screws and gently lift the inner panel off to see the handle assembly. You may need to remove extra screws that hold a vent or trim panel depending on your oven model.
- Remove Handle Fastenings: With the handle assembly in view, use the right screwdriver or nut driver to take off the screws or nuts that keep the handle attached to the door or vent panel. After you remove the fastenings, carefully pull the old handle off.
Step 2: Installing the New Handle
Method 1: Directly Mounted Handle (Frigidaire, Electrolux, etc.)
- Position the New Handle: Place the new oven door handle over the mounting holes on the oven door. Make sure it is directed correctly and fits flat against the door surface.
- Install and Tighten Screws: Put the screws back in that you took out before. Use the screwdriver to tighten them well, but do not overdo it, as this may harm the handle or the oven door.
- Remove Masking Tape: After the handle is tight, carefully remove the masking tape from around the oven door. Your new handle is now in place.
Method 2: Handle Attached to Vent/Trim (GE, etc.)
- Secure the New Handle: Position the new oven door handle with the mounting holes on the oven door or the vent panel. Put the screws or nuts you took out before back in and tighten them with the right tool.
- Reassemble the Oven Door: Place the inner door panel back onto the oven door, making sure the screw holes line up. Put in the screws and tighten them well. If you took off a vent or trim panel, snap it back before putting the inner panel on.
- Reattach the Oven Door: Align the oven door with the hinges and lift it back into place carefully. Make sure it sits properly and is secure. If your oven has hinge clips, use them to hold the door in place.