

Dealing with an appliance that is not heating or cooling can be really annoying. Whether your oven isn’t baking or your refrigerator isn’t staying cold, these problems interrupt your daily life. Knowing some basics about appliance repair and temperature settings can help you save time and worry. This blog gives you practical tips for finding out what’s wrong and fixing these issues, so your Viking appliances (or other brands) work well again. By looking at the main causes, you can choose to fix it yourself or call a professional.
Understanding Appliance Heating and Cooling Issues
Appliances, such as ovens and refrigerators, need to heat or cool properly. Problems with these functions can be due to electrical or mechanical issues, or even the environment. The first step to fix an issue is figuring out what the problem is.
For example, an oven may overheat if its sensors are not in the right place. A refrigerator may fail to keep its temperature because of blocked condenser coils. Knowing these problems is important for appliance repair. With the right solutions, you can help keep your appliances working well and lasting longer.
Common Reasons Why Appliances Fail to Heat or Cool
One of the most common reasons appliances do not heat or cool is a problem with the power supply. A tripped circuit breaker or a loose plug can stop energy flow, making your appliance inactive. Checking these simple things is often an important first step when troubleshooting.
Another common cause is damaged parts. This can include a broken heating element in an oven or a faulty compressor in a refrigerator. These parts are key for controlling temperatures, so when they fail, the appliance does not perform well.
Environmental factors also play a big role. For example, dirty condenser coils or blocked air vents can reduce airflow. This makes appliances work harder and may lead to failure. Regular maintenance and checks can help stop these issues. Knowing these common reasons can help you find problems quickly and get your appliances working again.
Signs That Your Appliance Might Be Malfunctioning
Your appliance usually shows warning signs before it completely breaks down. If your refrigerator is not cooling well, you might see that food spoils too fast or water collects. This can happen because of dirty condenser coils or a refrigerant leak.
With ovens, if baking is uneven or heating is not right, it points to bigger problems. A glowing heating element that doesn’t work or slow cooking times suggests there are heating issues.
Weird noises can also be a signal. For example, if you hear humming or ticking from your refrigerator, it might mean the compressor or fan is not working well. In gas ovens, if you do not hear ignition clicks, it can show a broken igniter. Spotting these signs early can save you from expensive repairs and helps keep your appliances running as they should.
Preparing to Troubleshoot Your Appliance
Before finding the problem, you need to get ready. First, make sure your appliance is unplugged to prevent accidents. Next, grab the tools you’ll need, like screwdrivers and multimeters.
Also, look at the appliance’s manual and any factory settings. Knowing these details will help you spot anything unusual. With the right preparation, you can check the appliance safely and properly. Now, let’s talk about important safety steps before starting appliance repair.
Safety Tips Before You Begin
When you do appliance repair, safety should always be your top priority. First, unplug the appliance or turn off its power at the circuit breaker. This step helps reduce the risk of electrical shock while you are trying to fix it.
Wear protective gloves when you check inside the appliance. Be especially careful with visible faults like broken heating elements, as this can prevent cuts or burns. Make sure your workspace is bright and tidy. Remove any clutter that could lead to accidents or distractions.
If you are working on gas appliances like ovens, make sure there is good airflow. It’s important to notice gas leaks; if you smell something strange, stop what you are doing and call a pro. These safety tips will help you create a safe space for solving your appliance’s issues quickly.
Tools and Resources You Will Need
Fixing an appliance needs the right tools and resources. Here’s a quick list of what you should have:
- Basic tools: Screwdrivers, pliers, and wrenches
- Testing equipment: A multimeter for electrical testing
- Cleaning supplies: A vacuum cleaner and a coil brush for removing debris
- User Manual: For troubleshooting specific to your model
You should also check online repair guides or videos made for your appliance brand. Professional tools like circuit testers can help if you need to check deeper. With these essentials ready, you can start diagnosing the issue.
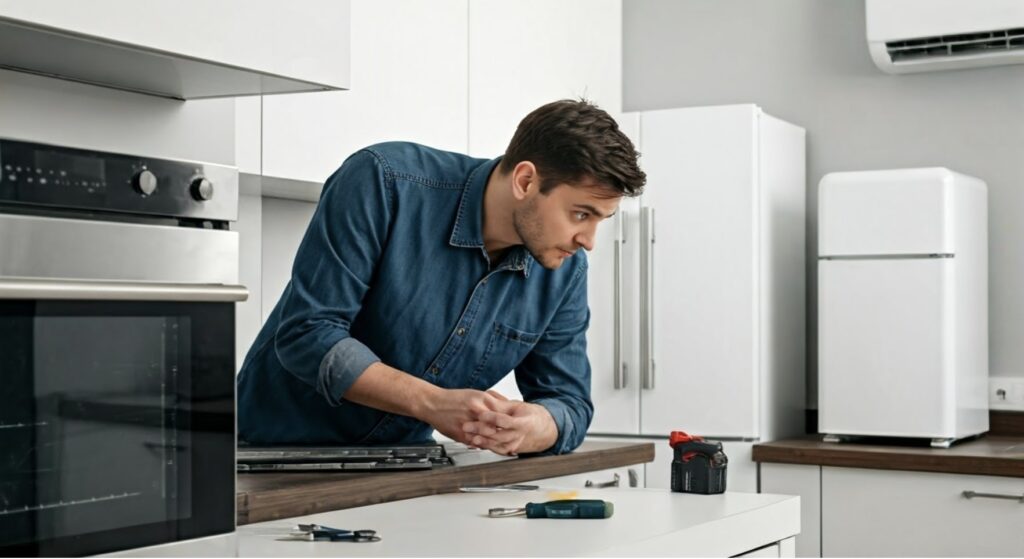
Step-by-Step Guide to Diagnosing the Problem
Diagnosing your appliance correctly is key to making effective repairs. First, make sure your appliance is plugged in and getting power from a working outlet. Next, visually check for visible faults like broken parts or blockages.
If you don’t see anything wrong, test important main components like the compressor or igniter. Follow the steps below to help find the reason for cooling or heating problems. Let’s begin by checking the power supply.
Step 1: Checking Power Supply and Connections
An interrupted power supply is a common reason why appliances stop working. First, check if your appliance is plugged in tightly. Loose connections or old cords can cause problems.
Next, look at the circuit breaker. If a switch has tripped, it may have turned off power to your appliance. Switch it back to the “on” position and see if this fixes the issue.
Finally, use a multimeter to check if the outlet is supplying electricity. If the outlet isn’t working, fixing or replacing it could solve the issue. Making sure there are no power problems helps keep your appliance working well.
Step 2: Inspecting the Appliance for Visible Faults
Performing a careful check for visible problems can show many hidden issues. Start by looking at the outside. Is the appliance door loose or not sealed well? For ovens, a door that doesn’t close properly lets heat escape. This makes them less effective.
Next, check the inside parts. Look for broken wires, damaged heating elements, or fans that are not aligned right. If your refrigerator has dirty condenser coils, clean them right away to help the cooling work better.
Lastly, look for signs of wear like cracks or parts that are discolored. Often, visible problems mean that specific parts have failed. This makes it easier to find a solution.
Step 3: Testing the Appliance’s Main Components
For a good diagnosis, testing important parts is necessary:
| Component | Testing Procedure |
|---|---|
| Heating Element | Look for cracks or color changes; use a multimeter to check continuity |
| Thermostat | Take it out and check resistance levels to see if it works properly |
| Condenser Fan | Make sure it spins without stopping, and check the motor for power issues |
| Compressor | Listen for humming sounds and test power relay circuits |
Each test helps find out if the problem is with the mechanics or electricity. Fixes usually mean changing broken parts to bring back your appliance’s efficiency.
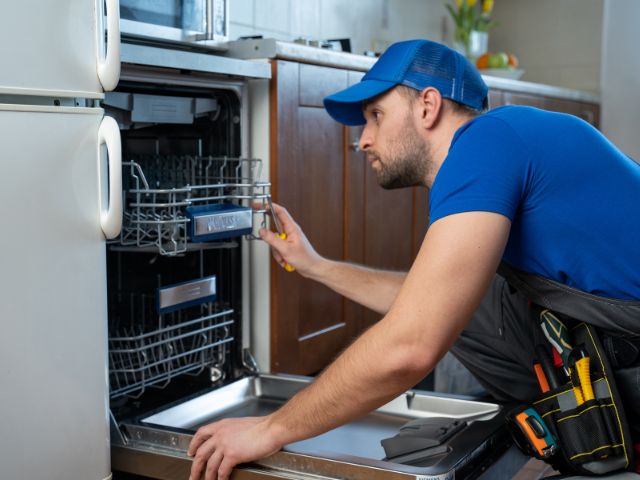
Specific Fixes for Common Appliance Issues
Once you find the problem, fixing it quickly can save time and money. Broken ovens and refrigerators that do not work well are common issues. Clear solutions can keep you safe and ensure the repairs work.
The next parts provide easy repair tips for common problems, such as overheating ovens and refrigerators that do not cool. Let’s go through these steps to make them easier to handle.
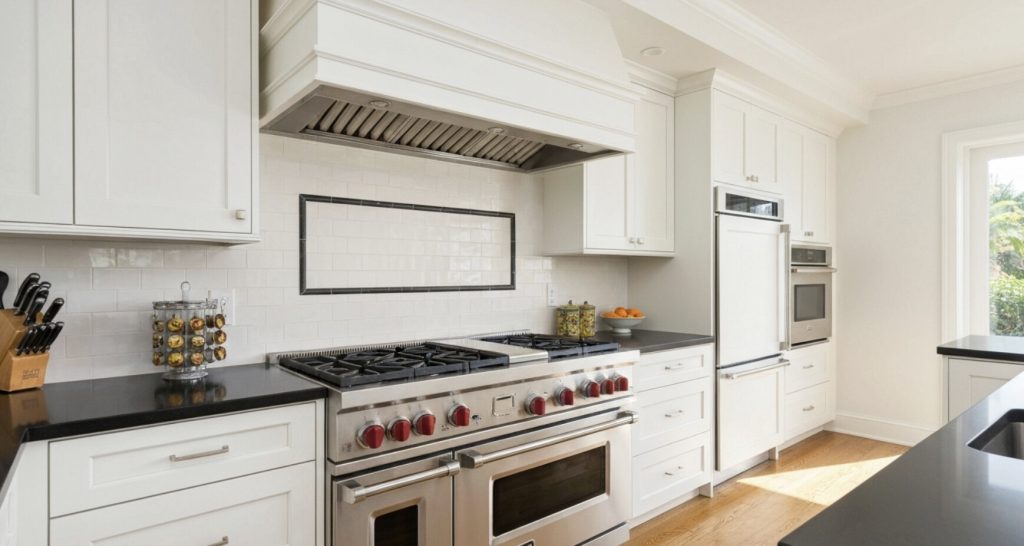
How to Address Overheating in Ovens
If your oven gets too hot, first check the thermostat and temperature settings. A misaligned thermostat can give wrong temperature readings.
Next, look at the heating elements. If they glow orange, they work well. If they show any other color, they might need to be replaced. Also, check that the oven door seals are not broken. A bad seal can let heat escape and cause overheating.
Finally, you may need to recalibrate the oven. You can do this by checking the control panel or asking a technician for help. Following these steps will help ensure even heating for all your cooking needs.
Solutions for Refrigerators That Won’t Cool
Start your refrigerator repair by cleaning the dirty condenser coils. When these coils are clogged, airflow is weak. This can lower how well your fridge cools. Use a coil brush to clear out any debris and help the system work better.
After that, check the evaporator fan. If it’s not moving air over the cooling coils, you may need to replace its motor. Also, look at the air vents to see if anything is blocking cold air from flowing.
Finally, make sure your fridge has the right power supply. Adjust the temperature areas to meet FDA-recommended levels for the best cooling. Doing these things will help restore your fridge’s cooling capabilities.
When to Seek Professional Help
Some situations, like problems with electricity or gas lines, need skilled technicians. If your oven’s heating element looks broken or your refrigerator’s compressor is not working, do not try to fix it yourself. This could cause risks.
Also, refrigerant leaks need special tools and chemicals that can be dangerous without training. Trying these repairs might cause more issues.
Calling a licensed appliance expert will help you get the right diagnosis and good solutions. This can save you money and keep you and your family safe.
Choose Viking Repair Pro for Guaranteed Repairs
At Viking Repair Pro, we are proud to provide guaranteed repairs for all your heating and cooling appliances. Our certified technicians get thorough training to spot and fix even the toughest problems.
We focus on safety and efficiency. Every repair, including oven repairs, meets industry standards. Whether it’s a broken oven or a refrigerator not cooling, we deliver clear service and lasting solutions.
Choose us for trustworthy, professional results. Contact Viking Repair Pro today and enjoy stress-free appliance maintenance done the right way.
Conclusion
In short, knowing the common reasons why appliances stop heating or cooling is important for troubleshooting. By carefully identifying the problem and using the specific fixes in this guide, you can often fix issues without a professional. Still, don’t wait to ask for expert help if you need it, especially for tough problems. Keep in mind that acting quickly saves you time and money and helps your appliance last longer. For more tips on appliance maintenance and repair, don’t forget to check out our other blog post about How to Fix an Oven Not Self-Cleaning Fast!
Frequently Asked Questions
Can a power surge cause heating or cooling issues in appliances?
Yes, a power surge can hurt parts in your appliance, like thermostats, heating elements, and compressors. This can make it hard for your appliance to heat or cool properly. If you think a power surge happened, check the connections or ask a technician for help with fixing it.
How do different types of appliances (e.g., ovens vs. refrigerators) compare when it comes to heating and cooling issues?
Heating and cooling issues change a lot from one appliance to another. Ovens mainly create heat to cook food, but refrigerators work hard to take heat away to keep food fresh. Knowing how these appliances work helps you spot different problems. It also helps you find the right solutions for good appliance care.
What are the most efficient energy settings for appliances to ensure they heat or cool effectively?
For the best performance, use the right energy settings. Set your refrigerator to 40°F or lower. Make sure the freezer is at 0°F. Check the temperature settings on your oven. Keep the doors sealed tight for better efficiency. Regular maintenance will help your appliance work well too.