

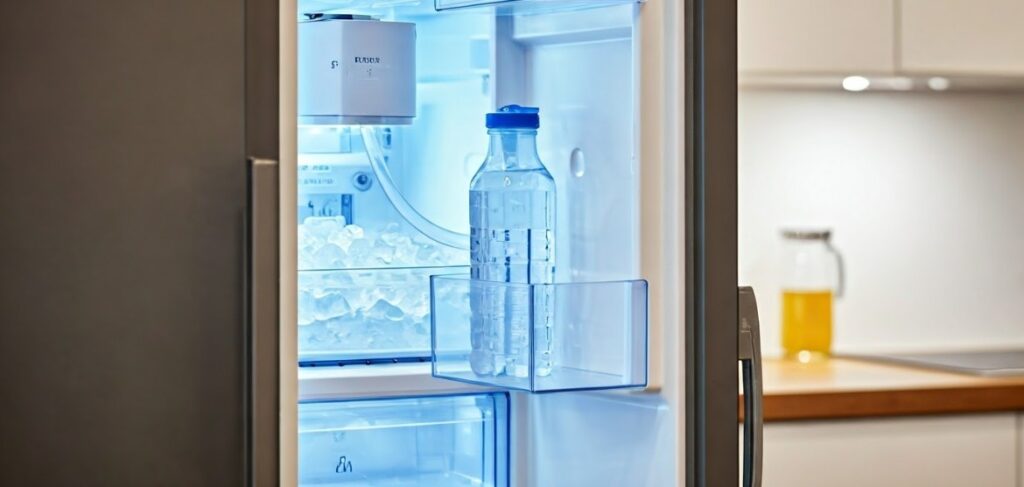
Nothing is worse than opening your Viking freezer on a hot day and finding that your ice maker has stopped working completely. There are many reasons why this can happen, but a frozen fill tube is a common and easy problem to fix. This guide will show you how to fix a frozen ice maker fill tube. By following these steps, you can enjoy your ice-cold drinks again in no time!
Common Reasons for Freezing
A frozen ice maker fill tube happens when the water in the tube freezes. This creates a blockage, stopping water from flowing to the ice maker. It can happen due to changes in temperature inside your appliance.
One common issue is setting the freezer temperature too low. It may seem strange, but very low temperatures can freeze the water in the fill tube before it gets to the ice maker. Also, if you keep the freezer door open for too long or keep opening and closing it, this can cause temperature changes that might lead to freezing.
Preparing to Troubleshoot Your Frozen Ice Maker Fill Tube
Before starting, it is very important to make sure your working area is safe. This means collecting the right tools and following the safety steps. A bit of planning before will help the troubleshooting go more easily.
Keep in mind that working with appliances can be risky, so always put your safety first. By preparing well, you can have a successful repair and protect yourself from possible dangers.
Tools and Materials You Will Need
Having the right tools will make fixing your ice maker much easier. Here’s what you need:
- A container for collecting water: You can use a bowl, bucket, or towels to soak up any water that spills while thawing.
- A turkey baster or a similar tool: This is perfect for flushing warm water through the fill tube to melt the ice.
- A hairdryer (optional): If the ice is very hard, using a hairdryer on low heat can help thaw it.
- Screwdrivers: You may need these to detach the ice maker or to access the fill tube, depending on your fridge model.
Make sure your tools are clean and dry before you start. This helps avoid any contamination or electrical issues. Having everything ready will make the repair quicker and easier.
Safety Precautions Before Starting
Safety should always be your main concern when using any appliance. Before you fix your frozen ice maker fill tube, follow these important safety steps:
- Disconnect the Power Supply: Pull the plug of your refrigerator from the outlet. This removes the chance of getting an electrical shock and creates a safe workspace.
- Turn Off the Water Supply: Find the water shut-off valve for your refrigerator, usually located behind it. Turn the valve off to stop any unintentional water leaks while you repair it.
- Protect the Floor: Put towels or a drop cloth around the spot where you will be working. This will soak up any water that may come out during the thawing process.
By following these safety tips, you can ensure a safe and successful repair. Remember, taking risks with safety can lead to accidents that could be avoided. Stay careful and focus on keeping your work area secure.
Step-by-Step Guide to Fixing a Frozen Ice Maker Fill Tube
Now that you’ve set up your workspace and gotten your tools, let’s deal with that frozen fill tube. If you follow these simple steps, you will be close to fixing your ice maker.
If at any time you feel uneasy or unsure about what to do, it’s better to reach out to a skilled technician for help. Staying safe and doing a good job is much more important than a DIY mistake.
Step 1: Unplug the Refrigerator and Locate the Fill Tube
First, make sure your refrigerator is unplugged. Next, find the ice maker, which is usually in the freezer part. You’ll see a thin plastic line called the fill tube. This tube goes from the back of the freezer to the ice maker.
Depending on your refrigerator model, the fill tube might be easy to see or it might be behind a panel. If you can’t find it, check the manual for help. Once you find the fill tube, look at it closely to see if there is any ice inside.
If some of the tube is hard to see, you can carefully feel along it to find any icy spots. Be careful not to break anything while doing this.
Step 2: Thaw the Frozen Fill Tube Safely
The best and safest way to thaw the frozen fill tube is to use warm water. Take your turkey baster or a similar tool and fill it with warm water. Make sure the water is warm, but not boiling.
Gently pour the warm water onto the frozen parts of the fill tube. Let the water flow through the tube. Do this again until you feel the ice melting and water can move easily through the tube.
If the ice is difficult to get rid of, you can try using a hairdryer set on low heat. Be very careful with this method. Make sure the hairdryer doesn’t touch any water or electrical parts.
Step 3: Inspect for Potential Causes of the Freeze
Once the fill tube is thawed, it’s important to find out why it froze. This can help stop it from happening again. First, check the temperature setting of your freezer. It should be around 0 degrees Fahrenheit.
Next, look at the seal on your freezer door. Check for any cracks, tears, or dirt that could break its airtight seal. A damaged seal can cause the temperature to change, which may lead to freezing again.
If you think something is broken or you can’t find the reason for the freeze, it’s a good idea to call a qualified technician. They can help diagnose and fix the issue.
Step 4: Reassemble and Test the Ice Maker
Step by step, put your ice maker back together now that the fill tube is thawed and the issues are fixed. Be careful while reattaching any parts or panels you took off during repair.
Plug your refrigerator back into the electrical outlet. Make sure the power cord is secure. Turn the water supply on again and look for any leaks around the connections.
Give your ice maker a few hours to start making ice again. If it still doesn’t work, go through the troubleshooting steps again or call an appliance technician for help.
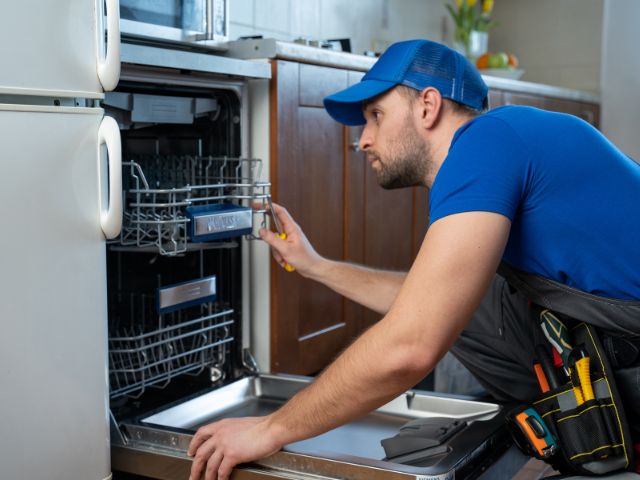
Contact Viking Repair Pro Today for Expert Service!
Are you still having trouble with your ice maker? Don’t let a broken appliance interfere with your day. At Viking Repair Pro, we focus on giving great appliance repair services. We make sure your appliances are working well. Our team has skilled and experienced technicians. They know how to fix all kinds of ice maker problems, like frozen fill tubes, leaks, and parts that are not working right. We provide fast and dependable service, using only high-quality parts for repairs that last.
Conclusion
In conclusion, if you deal with a frozen ice maker fill tube quickly, you can stop more damage to your ice maker. By following the steps above on how to fix a frozen ice maker fill tube, you can find and fix the problem well. Keeping up with regular maintenance and checks can help stop future freezes. If you keep having problems or need expert help, feel free to contact Viking Repair Pro for their skilled service. For more tips and solutions on home maintenance, visit our other blog posts for useful resources.
Frequently Asked Questions
How often should I check my ice maker fill tube?
Regularly checking the ice maker fill tube is not something you do on a schedule. Still, if you see that your ice maker is working poorly or making less ice, you should look at the fill tube. It might be frozen, which could be the problem.
Can a frozen fill tube damage my ice maker?
A one-time freeze probably won’t cause much harm. But if freezing and thawing happen many times, it can strain the fill tube and other parts of the ice maker. This can lead to cracks or leaks.
Are there preventive measures to avoid future freezes?
Keeping your freezer at the right temperature is important. It should usually be around 0 degrees Fahrenheit. This helps stop food from freezing too hard. Also, try not to leave the freezer door open for long. Check that the door seal is working well too.