

Thanksgiving is a time of joyous gatherings and culinary celebrations. A fully functional oven is crucial for that perfect turkey and sumptuous sides. For DIY enthusiasts, tackling oven issues like a faulty ignitor in your Viking oven can be both a challenge and a rewarding experience.
Viking Repair Pro brings you a comprehensive guide on DIY Viking Oven Ignitor Replacement, ensuring your Thanksgiving preparations are not hindered by appliance issues.
Understanding the Role of the Ignitor in Your Viking Oven
The ignitor is a critical component in gas ovens, including those from Viking. It’s responsible for lighting the gas in the oven burner, allowing it to heat up. A faulty ignitor can lead to several issues, impacting your oven’s performance. Here are the signs your ignitor may need replacement:
- Oven Not Heating Up: One of the most telling signs of a failing ignitor is the oven not heating up despite being turned on.
- Oven Takes Longer to Heat: If your oven is taking longer than usual to heat up, it could be due to a weakening ignitor.
- Gas Smell: Smelling gas without the oven heating up is a clear indicator that the ignitor is not igniting the gas.
Identifying these signs early can save your Thanksgiving feast from disaster.
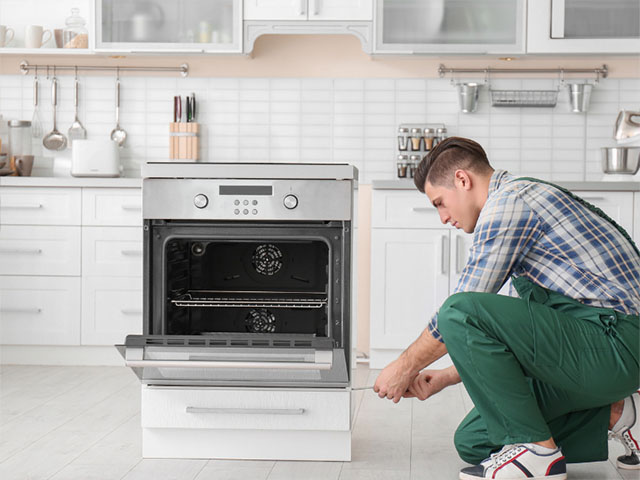
Step-by-Step Guide to Replacing Your Viking Oven Ignitor
Replacing the ignitor in your Viking oven is a manageable task for a DIY enthusiast. However, it requires careful attention to detail and adherence to safety protocols. Here’s the DIY replacement procedure:
- Safety First: Ensure your oven is unplugged and the gas supply is turned off before beginning any work.
- Access the Ignitor: Remove the racks and bottom panel inside the oven to access the ignitor.
- Remove the Old Ignitor: Disconnect the old ignitor by detaching the connectors and unscrewing it from its mount.
- Install the New Ignitor: Attach the new ignitor, ensuring it’s securely screwed in and properly connected.
- Test Your Oven: After reassembling, reconnect the gas and power supply and test the oven to ensure the new ignitor is functioning correctly.
This process, while straightforward, requires careful handling and attention to safety.
Tips and Safety Precautions for DIY Oven Repairs
While DIY repairs can be satisfying, they also come with risks. It’s essential to approach these tasks with caution and proper preparation. Here are some essential safety tips:
- Read the Manual: Always consult your Viking oven’s manual for specific instructions and safety warnings.
- Use the Right Tools: Ensure you have the correct tools for the job to prevent damage to your oven or injury to yourself.
- Seek Professional Advice: If at any point you feel uncertain, it’s wise to seek professional advice or assistance.
Prioritizing safety and following these tips can make your DIY ignitor replacement successful and rewarding.
Frequently Asked Questions
How do I know if my Viking oven ignitor needs replacing?
Common signs include the oven not heating up, taking longer to heat, or a smell of gas without ignition.
Is it safe to replace my Viking oven ignitor myself?
While it is safe for those with some DIY experience, it is crucial to follow safety protocols and consult the manual.
Where can I find the right ignitor for my Viking oven?
You can purchase the appropriate ignitor model from Viking parts suppliers or online retailers.
Conclusion
DIY repairs like Viking Oven Ignitor Replacement can be a fulfilling challenge for many. With the right tools, safety measures, and a bit of patience, you can ensure your Viking oven is ready for the Thanksgiving cooking marathon. However, remember that safety comes first, and when in doubt, it’s best to call in the professionals.
Ready to tackle your Viking oven repair but need a bit of professional guidance? Viking Repair Pro is here to help. Fill out our service request form for expert advice and assistance.